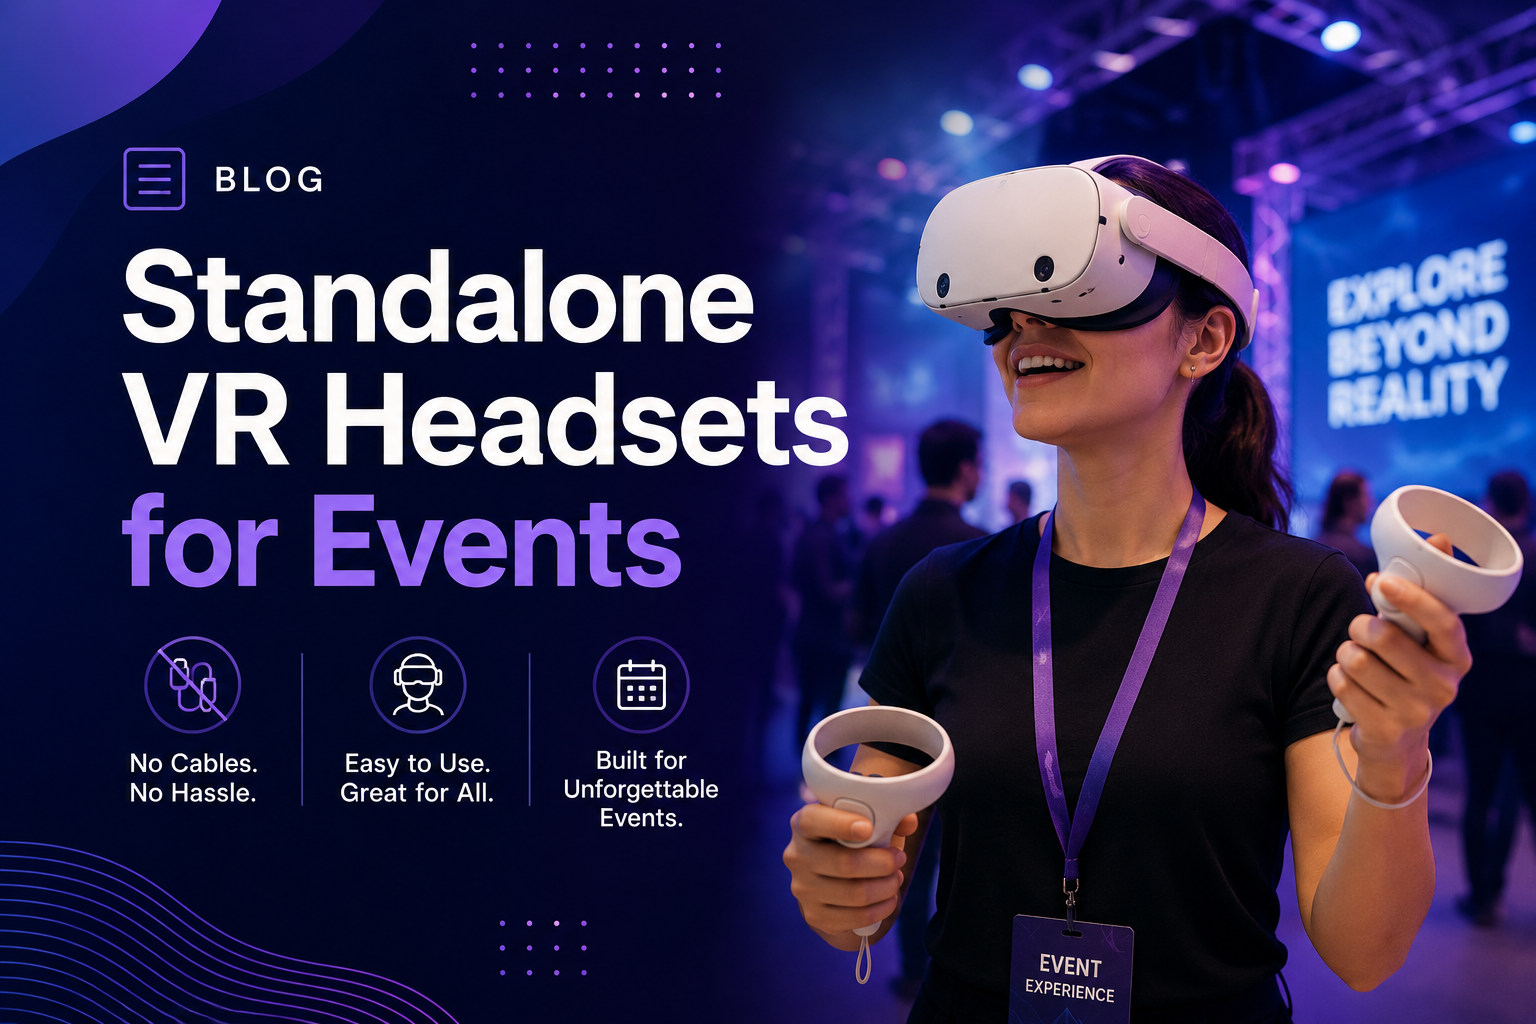
The term ‘3D VR design’ means something very different to a game studio than it does to a company launching a product at a convention center. For business deployments—trade shows, sales demos, safety training, or brand activations 3D VR design is less about pure artistic vision and more about building environments that render reliably on specific hardware, load fast enough for a live event, and hold up across dozens of simultaneous headset sessions.
This is a guide to commissioning 3D VR design that works in the field. It avoids software tutorials and instead focuses on the critical decisions that marketing leaders, event managers, and training directors need to make before signing a contract. We’ll cover the production pipeline, hardware constraints, real-world costs, and how to write a brief that gets you a predictable result.
What ‘3D VR Design’ Actually Means When You’re Deploying for Business
In a business context, 3D VR design is a structured process of creating and optimizing a virtual environment for a specific commercial outcome. It’s a technical and creative discipline focused on performance, usability, and reliability under the constraints of a live or remote deployment.
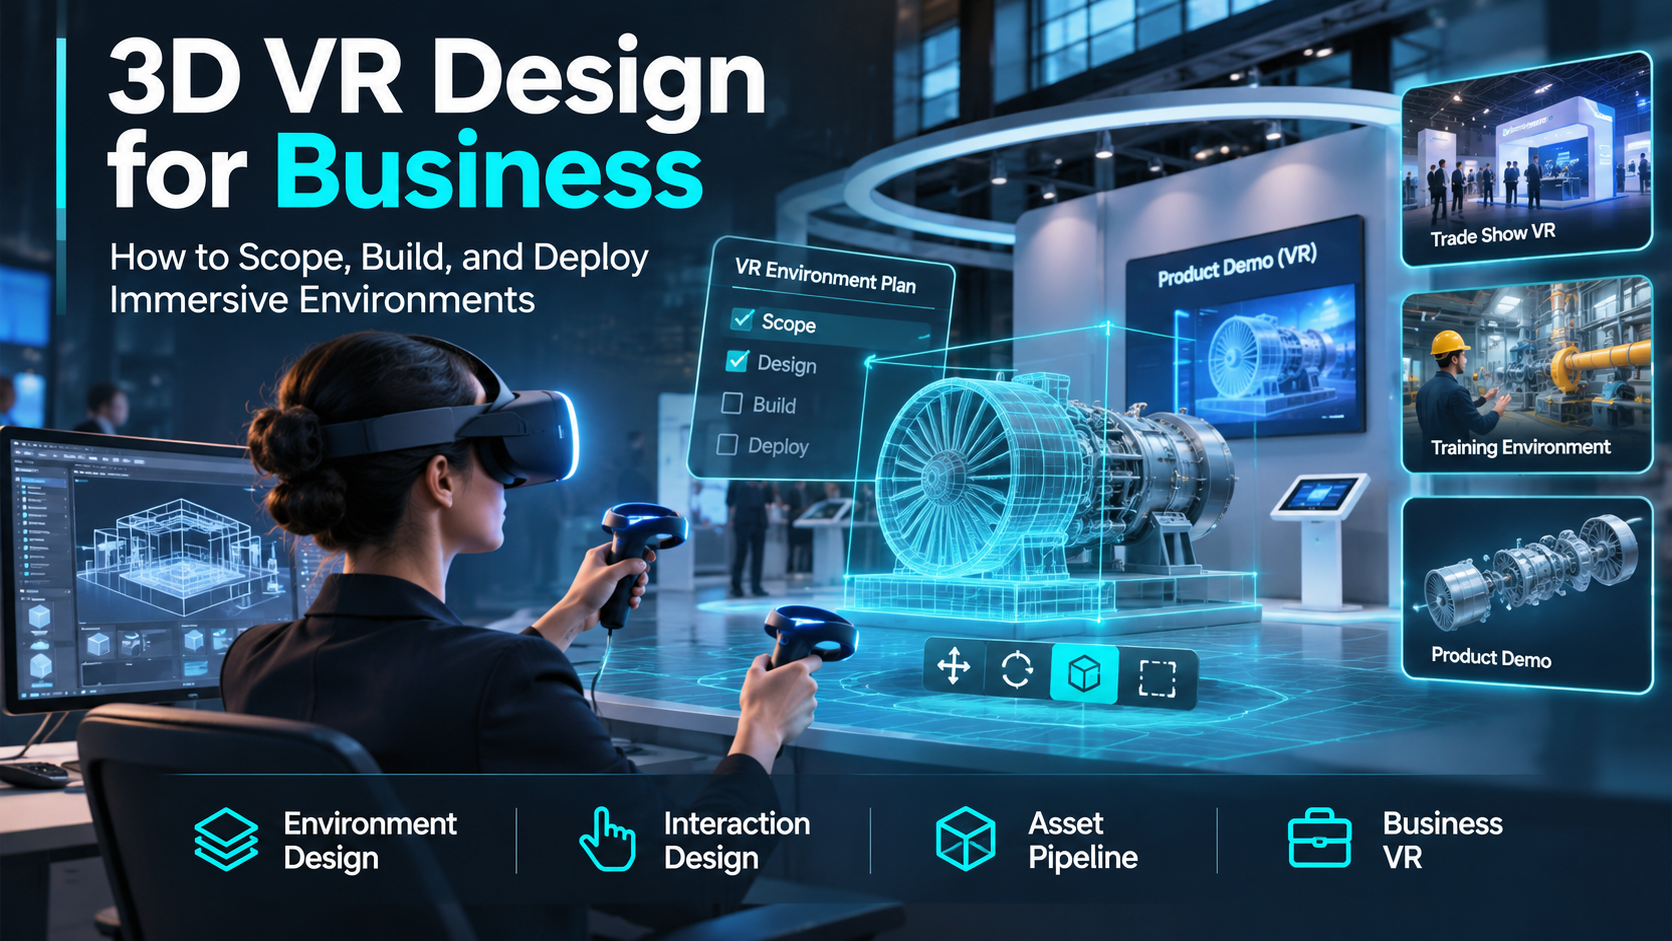
The Three Layers of 3D VR Design: Environment, Interaction, and Asset Pipeline
A successful business VR project depends on scoping three distinct layers together from the very beginning.
-
Environment Design: This is the spatial layout, scale, and visual fidelity of the 3D world. It defines what users see, the atmosphere they feel, and how they move through the space. For business use, this layer is dictated by the brand’s aesthetic and the performance limits of the target hardware.
-
Interaction Design: This layer defines how users engage with the virtual world. It covers everything from navigating menus and teleporting through a space to manipulating product models or executing steps in a training simulation. In business VR, clear, intuitive interactions are critical for short session times and first-time users.
-
Asset Pipeline: The asset pipeline is the process of creating, optimizing, and packaging all the 3D models, textures, and animations so they run efficiently on the target hardware. This is the most frequently underestimated layer in business projects, yet it’s where timelines and budgets are most often broken. A poorly managed pipeline leads to experiences that crash, stutter, or fail to load on the event floor.
These three layers cannot be handed off sequentially. An environment designed without considering the asset pipeline will never perform on a standalone headset. An interaction model that ignores the environment’s layout will feel unnatural. They must be planned as an integrated system.
Business Use Cases That Drive Different Design Requirements
The purpose of the VR experience dictates its design. Each of the following use cases implies different technical decisions that must be made before a vendor is briefed.
-
Trade Show Booth Activation: The goal is high visual impact and high throughput. Sessions are short (2-4 minutes), interactions are simple, and the experience must run reliably on a fleet of standalone headsets like the Meta Quest 3. Design focuses on a visually striking but technically simple environment with baked lighting and optimized assets.
-
Product Launch Demo: Here, photorealism is key. The experience needs to showcase a product with high-fidelity 3D models, often with configurable options like colors or materials. This usually requires a PC-tethered headset (e.g., Varjo Aero) to handle the graphical load, which in turn affects the event’s logistics.
-
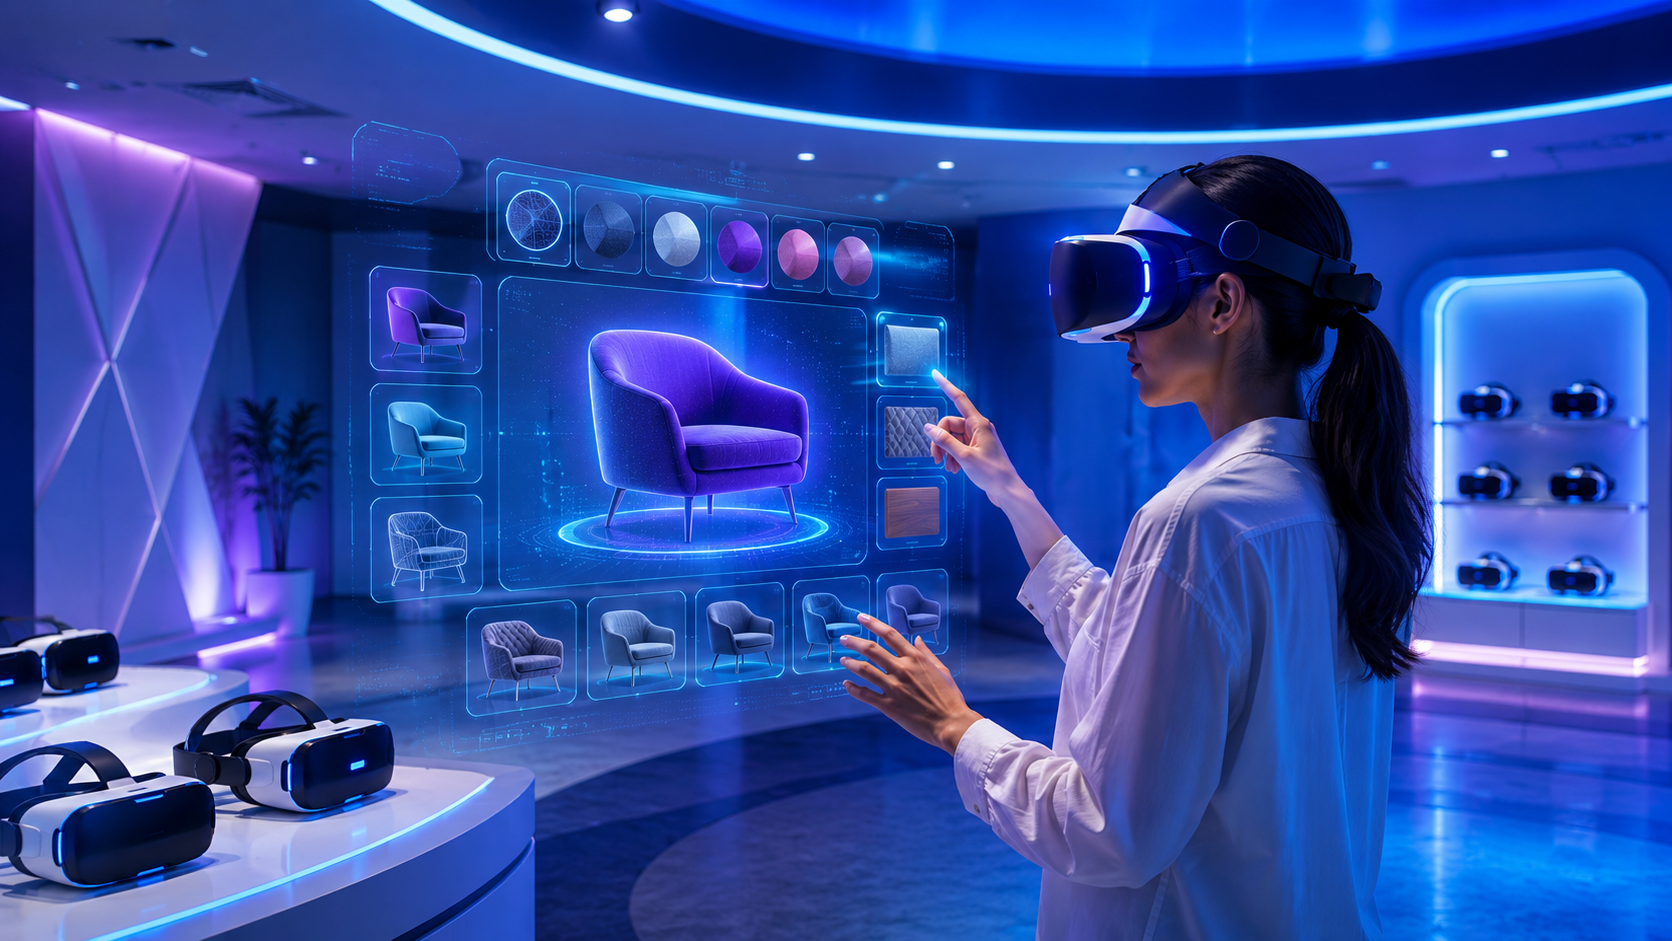
Sales Demo (Remote or In-Person): These must be lightweight, load quickly, and run on accessible hardware like a Meta Quest or Apple Vision Pro. The focus is on clear product visualization and collaborative viewing, often in a simpler, branded environment.
-
Safety and Training Simulation: This is the most complex use case, requiring scenario branching, consequence modeling, and performance tracking. Sessions are longer, and the design must prioritize realistic procedures over visual flair. Integration with a corporate Learning Management System (LMS) is often a core requirement.
Hardware Compatibility: The Design Constraint That Comes First
The single most common mistake in commissioning business VR is treating hardware selection as a downstream decision. The headset you deploy on sets hard, non-negotiable limits on what your 3D environment can look like and how it must be built. Designing for a PC-tethered headset is a fundamentally different technical brief than designing for a standalone or spatial computing device.
Standalone Headsets: Polygon Budgets, Texture Limits, and What ‘Optimized’ Actually Means
Standalone headsets like the Meta Quest 3 and Pico 4 run on mobile-class processors. This means environments must adhere to strict technical budgets to maintain a smooth frame rate and avoid making users sick.
-
Performance Budgets: A typical environment for a Meta Quest 3 should aim for 100,000 to 300,000 polygons per scene and use compressed textures (like ASTC) to manage memory. Lighting is usually “baked” into the textures beforehand rather than calculated in real-time.
-
Visual Fidelity: Photorealism is extremely difficult to achieve on standalone hardware. Stylized or semi-realistic aesthetics are far more effective and reliable. The goal is a clean, art-directed look that performs well.
-
Rental Fleet Implications: For events, assets must be packaged into a single, easily deployable file (like an Android APK for Quest) that can be loaded onto 20-50 headsets without individual configuration.
PC-Tethered Headsets: When Fidelity Justifies the Logistics Cost
PC-tethered headsets like the Varjo Aero, Valve Index, or HP Reverb G2 connect to a powerful gaming PC. This unlocks a much higher level of visual quality.
-
Photorealism: These systems can render environments with millions of polygons, dynamic real-time lighting, and complex visual effects. This makes them ideal for applications where photorealistic detail is the entire point, such as automotive design, architectural visualization, or luxury product showcases.
-
Logistical Trade-off: The fidelity comes at a cost. Each headset requires a dedicated gaming PC, cables, and a larger physical footprint. This adds significant logistical overhead and cost for event deployments.
-
Unreal Engine Dominance: For high-fidelity PC VR, Unreal Engine is often the platform of choice. Its Nanite and Lumen technologies allow for the use of film-quality 3D assets and dynamic global illumination, though they require high-end hardware to run smoothly in VR.
Apple Vision Pro: A Different Design Language Entirely
The Apple Vision Pro is not a traditional VR headset; it’s a spatial computer that blends digital content with the real world using passthrough AR as its default mode. Designing for it requires a different approach.
-
Spatial and UI-Centric: Experiences are often presented in windows, volumes, or spaces that coexist with the user’s physical environment. The design language revolves around glass-like materials, legible text, and ergonomic placement of content in the user’s field of view.
-
Use Case: It is best suited for controlled environments like executive briefings, one-on-one sales demos, or detailed product visualizations. It is not designed for high-throughput trade show activations.
-
Development Framework: Design is built around visionOS frameworks and a human-centered approach, focusing on comfort and intuitive interaction rather than traditional VR locomotion models.
The 3D VR Design Production Pipeline: From Brief to Headset
Understanding the production pipeline is crucial for business stakeholders because every stage has a cost, a timeline, and a decision point. Knowing what happens between “we want a VR experience” and “the headsets are ready” prevents underestimated timelines and late-stage scope creep. The development process generally follows six stages, with a typical project taking three to six months.
Stage 1: Creative Brief and Technical Specification
This is the most critical phase. A rushed or incomplete brief is the leading cause of cost overruns. A typical brief takes one to two weeks to finalize.
-
The Brief: Must specify the target headset, session length, number of users, interaction requirements, and any existing 3D assets (like CAD files) that can be used.
-
The Technical Spec: Locks in the game engine (Unity vs. Unreal), target frame rate (e.g., 90Hz), and deployment method (standalone, tethered, or streamed).
-
Outcome: This stage should result in a written scope, a list of scenes and interactions, a timeline, and a quote.
Stage 2: 3D Asset Creation and Optimization
This stage involves creating the building blocks of the virtual world. It can take anywhere from four weeks to four months.
-
Modeling: Assets are built using software like Blender, Maya, or 3ds Max. They are then heavily optimized for the target platform through processes like decimation (reducing polygon count) and texture baking.
-
Using Existing Assets: Converting existing CAD or product design files is often faster and cheaper than modeling from scratch. However, these files must be converted and optimized for real-time rendering, a process that can add 1-2 weeks.
-
Photogrammetry: This technique involves taking hundreds of photos of a real-world object to create a photorealistic 3D model. It produces highly realistic assets but requires significant post-processing to meet performance budgets.
-
Timeline: Asset optimization is where most timeline surprises occur. Budget 30-40% of the total production time for this stage alone.
Stage 3: Environment Build and Integration
Here, the optimized assets are assembled in Unity or Unreal Engine to form the interactive environment. This stage can take one to eight weeks.
-
Assembly: Assets are placed, and lighting, materials, and interaction logic are added.
-
Performance Profiling: The experience must be continuously tested on the actual target hardware, not just a powerful developer machine. The goal is to ensure a stable frame rate.
-
Integration: If the experience needs to connect to external systems like an LMS for training or a CRM for sales, that integration is built and tested here.
Stage 4: Testing, Packaging, and Deployment Preparation
The final stage before launch focuses on quality assurance and logistics. Allow at least 1-2 weeks for this.
-
Testing: QA must cover frame rate stability, user comfort (to avoid motion sickness), interaction reliability, and load times on the specific headset model being used.
-
Packaging: The experience is packaged into a final build file. For rental fleets of standalone headsets, this is typically an APK file that can be “sideloaded” directly onto the devices.
-
Deployment-Ready: A “deployment-ready” build is one that has been tested across multiple hardware units to ensure consistency. This step is critical for avoiding event-day failures.
Custom 3D VR Design vs. Pre-Built Environments: The Real Cost Comparison
One of the most consequential decisions is whether to commission a fully custom environment or adapt a pre-built one. The choice depends on your brand’s needs, timeline, and budget.
What Custom 3D VR Design Actually Costs
Custom development offers a unique, brand-aligned experience but comes at a higher price point. Costs are driven by the number of unique 3D assets, interaction complexity, and platform support.
-
Custom Standalone VR (e.g., Trade Show Booth): For a 3-5 minute experience on a Meta Quest, expect costs to range from $15,000 to $60,000.
-
Custom PC-Tethered Photorealistic VR: A high-fidelity product visualization in Unreal Engine can range from $40,000 to $150,000+.
-
Custom VR Training Simulation: A module with branching scenarios and LMS integration typically costs $50,000 to $200,000+.
-
Timeline: Most custom projects require 8 to 20 weeks from a signed brief to a deployment-ready build.
Pre-Built and Template Environments: Where They Work and Where They Don’t
Platforms like Spatial or Engage offer pre-built virtual spaces that can be customized with branding for a fraction of the cost of a custom build, often in the $2,000 to $10,000 range.
-
Trade-offs: The trade-off is limited differentiation, dependency on the platform’s features, and potentially weaker performance optimization for your specific hardware.
-
Best Fit: These are excellent for internal meetings, low-traffic virtual showrooms, or as a proof-of-concept when budget is the primary constraint.
-
Not Recommended For: Flagship product launches, high-throughput trade shows, or any experience requiring custom interaction logic.
The Rental-Ready Middle Path: Licensing Optimized Assets
A smart, underused strategy is to license high-quality 3D models and environment kits from asset marketplaces like the Unity Asset Store or Sketchfab.
-
Cost Savings: This can reduce the asset creation portion of a budget by 30-50%. The environment is still custom-built and brand-specific, but the underlying props and materials are licensed instead of modeled from scratch.
-
Requirement: This approach requires a development partner who is skilled at evaluating asset quality, licensing terms, and the technical work needed to optimize the assets for the target platform.
How to Write a 3D VR Design Brief That Vendors Can Actually Execute
Most vendors receive a mood board and a deadline. This leads to misaligned expectations and cost overruns. A structured brief saves weeks of back-and-forth. A good brief defines the problem and the desired outcome, not the solution.
The Eight Elements Every Business VR Design Brief Must Include
-
Deployment Context: Where and how will this be used (e.g., trade show booth, sales meeting)? How many simultaneous users are expected? What is the event date?
-
Target Hardware: Name the specific headset model(s). Are they rented or owned? PC-tethered or standalone?
-
Session Design: What is the intended session length? Is the experience guided by staff or self-directed?
-
Interaction Requirements: What, specifically, do users do? Do they navigate, select options, configure a product, answer questions, or simply watch?
-
Existing Assets: List any 3D models, CAD files, brand environments, or product renders that can be reused.
-
Visual Reference: Provide examples of the desired fidelity level, art style, and brand aesthetic.
-
Integration Requirements: Does the experience need to connect to an LMS, CRM, analytics platform, or other external system?
-
Success Metrics: How will you judge if the project was successful? (e.g., leads captured, training completion rates, user dwell time).
Red Flags in Vendor Responses to a 3D VR Design Brief
-
No questions about hardware: A vendor who quotes without asking about the target headset is not thinking about real-world deployment constraints.
-
Bundled pricing: A quote that doesn’t separate costs for asset creation, environment building, and testing hides where the scope and timeline risks are.
-
No mention of performance: If the proposal doesn’t mention frame rate targets or performance profiling, the vendor may be used to building for editor previews, not for actual headsets.
-
Timeline ends at file delivery: The project isn’t done when a file is sent. The timeline must account for loading the experience onto the hardware fleet and on-site testing.
Operational Execution: What Happens to Your 3D VR Design on Event Day
A VR environment that runs perfectly in a studio can fail spectacularly in a convention center. Wi-Fi interference, bright lighting, physical space limitations, and the frantic pace of a live event must be anticipated in the design phase.
Designing for High-Throughput Event Conditions
-
Session Length vs. Throughput: A 5-minute experience on 10 headsets can serve 120 users per hour. A 10-minute experience cuts that number in half. Design the session length to match your event goals.
-
Load Time is a Design Variable: Long load times between sessions create dead time at a busy booth. This is influenced by the size and number of assets in your environment.
-
Complexity vs. Staffing: The more complex the interactions, the more trained staff you’ll need to guide users. For trade shows, design for the least experienced user.
-
Physical Space: A standing, room-scale experience requires a cleared area of at least 6.5 x 6.5 feet (2 x 2 meters) per station to be safe.
Technical Failure Prevention Built Into the Design
-
Offline-First Architecture: Never rely on convention center Wi-Fi. The experience must be designed to run entirely offline, pre-loaded on each headset.
-
Graceful Degradation: The application should handle common issues like a controller battery dying by pausing cleanly rather than crashing.
-
Sideloaded Builds: For standalone headsets, using sideloaded builds (installing directly via a cable) bypasses public app stores and gives you complete control over which version is on each device.
-
Pre-Event Checklist: At least 48 hours before the event, every single headset in the fleet must be charged, turned on, and tested with the final version of the VR experience.
Conclusion
Commissioning 3D VR design for a business event or program is not an art project; it is a technical procurement process. Success depends on aligning your business goals with the right hardware, a realistic production plan, and a clearly defined scope.
By treating hardware as the first constraint, understanding the production pipeline, and making an informed choice between custom and pre-built solutions, you can de-risk your investment. The most effective path forward is to write a detailed brief that forces vendors to account for the realities of deployment. This transforms the conversation from a vague pitch about “immersion” to a concrete plan for delivering a reliable, effective, and measurable business tool that works where it matters most: in the field.
Frequently Asked Questions (FAQs)
How long does it take to design a 3D VR environment for a business event?
A complete, custom VR experience for a business event typically takes 3 to 6 months from the initial brief to a deployment-ready build. A simpler pilot project can sometimes be completed in 4 to 6 weeks, while more complex simulations can take longer.
What is the difference between 3D VR design and AR design for events?
VR (Virtual Reality) replaces the user’s surroundings with a fully digital environment, requiring a headset that blocks out the real world. AR (Augmented Reality) overlays digital information onto the user’s view of the real world, typically through a smartphone or transparent glasses. For events, VR is used for deep immersion in a controlled space, while AR is better for experiences that interact with the physical venue or products.
Can I use existing CAD or product files in a VR environment?
Yes, and it’s highly recommended. Using existing CAD files, architectural models, or other 3D assets can significantly reduce the cost and time of the asset creation stage. However, these files are almost never “drag-and-drop” ready. They must be converted and heavily optimized by a 3D artist to perform well in a real-time game engine, a process that can still take several days or weeks.
What VR engine is better for business events — Unity or Unreal Engine?
For most business events, especially those using standalone headsets like the Meta Quest 3, Unity is often the more practical choice. It has a reputation for being more lightweight, having a larger talent pool of developers experienced in mobile and enterprise VR, and offering a smoother path to hitting performance targets on less powerful hardware. Unreal Engine excels at creating high-end, photorealistic visuals but generally requires more powerful PC-tethered hardware and specialized developers to optimize for VR.
How many polygons can a Meta Quest 3 handle in a VR environment?
For a smooth experience on the Meta Quest 3, developers generally recommend keeping the total polygon count for a scene between 100,000 and 300,000 polygons. This is not a hard limit but a practical guideline to help maintain the stable frame rate needed for a comfortable user experience.
What does a 3D VR design project cost for a trade show activation?
A custom 3D VR activation for a trade show, designed for a standalone headset like the Meta Quest 3, typically costs between $15,000 and $60,000. The final price depends on the complexity of the interactions, the number of custom 3D assets required, and the length of the experience.
Do I need a custom 3D VR environment or can I use a pre-built platform?
If you need a unique brand experience, custom interactions for a product demo, or specific training scenarios, you need a custom environment. If your goal is a simple branded meeting space or a virtual showroom for internal use with a very limited budget, a pre-built platform like Spatial or Engage can be a cost-effective starting point.
How do I make sure a VR experience works reliably across a rental headset fleet?
Reliability comes from preparation, not luck. Insist that your vendor packages the final application for direct installation (sideloading) to avoid app store issues. Most importantly, your pre-event checklist must include testing the final build on every single headset in the rental fleet at least 48 hours before the event begins. This catches issues with firmware, setup, or hardware variations before they can impact your event.