Trade show success hinges on memorable experiences that convert browsers into buyers. VR booth activations deliver exactly that immersive product demonstrations that generate 3x more qualified leads than traditional displays. This guide breaks down everything from equipment selection to day-of execution, with proven configurations that work within real trade show constraints.
VR Trade Show Booth Configurations That Actually Work
Your booth footprint, expected traffic, and activation goals determine which VR setup delivers results. Here’s how leading exhibitors structure their VR experiences based on real trade show constraints.
High-Traffic Booth Layouts (10×10 to 20×20)
Dual-station setups for 100+ demos per day maximize throughput while maintaining experience quality. Position two VR stations at opposite corners of your booth, each with a 6×6 foot play area marked by anti-fatigue mats. This configuration allows simultaneous demos without wireless interference, as Meta Quest 3 headsets operate on different 5GHz channels when properly configured.
Mount 55-inch displays above each station at 7-foot height, angled 15 degrees downward for optimal spectator viewing. These screens mirror the VR experience, transforming waiting visitors into engaged prospects who understand your product before putting on a headset.
Queue management and spectator viewing areas require deliberate planning. Install retractable belt barriers creating a serpentine queue that keeps 8-10 people comfortably within your booth footprint. Position the queue alongside the spectator displays, allowing waiting visitors to preview the experience. Include a registration kiosk at the queue entrance for lead capture before demos begin.
Power and cable management specifications prevent safety hazards and equipment failures. Each VR station needs:
- Two dedicated 20-amp circuits (one for VR equipment, one for displays)
- Overhead cable management system with retractable tethers for headset charging
- Floor cable covers rated for 10,000+ foot traffic passes
- Backup battery stations capable of 4-hour continuous operation
- Surge protectors with 15-foot cords to reach booth power drops
Island and Peninsula Booth VR Zones
Multi-experience stations for different buyer personas let you segment your audience effectively. In a 20×20 island booth, deploy three distinct VR zones:
Zone 1 (Technical buyers): High-resolution Varjo Aero headsets for detailed product inspection and CAD model manipulation. Include swivel chairs and wireless keyboards for extended sessions.
Zone 2 (Executive decision-makers): Pico 4 Enterprise headsets with 5-minute ROI-focused experiences. Standing configuration with premium finishes and privacy screens.
Zone 3 (End users): Meta Quest 3 headsets running hands-on training simulations. Open area with safety mats and overhead displays for group viewing.
Traffic flow optimization for 360-degree access starts with entrance positioning. Place high-impact VR stations at diagonal corners to create natural circulation patterns. Use 4-foot-wide pathways between stations, marked with LED floor strips that guide visitors through your experience sequence. Position staff members at transition points to manage flow during peak hours.
Combining seated and standing VR experiences accommodates different comfort levels and demo lengths. Seated experiences work best for:
- Detailed product configuration sessions (10-15 minutes)
- Virtual facility tours requiring minimal movement
- Data visualization and analytics presentations
Standing experiences excel for:
- Quick product demonstrations (3-5 minutes)
- Interactive training simulations
- Collaborative design reviews with hand tracking
Inline Booth VR Solutions (10×10 standard)
Single-station high-impact demos maximize limited space through vertical design. Mount your VR equipment on a custom tower structure that includes:
- Headset storage at 5-foot height
- 43-inch display at 6.5-foot height
- Overhead lighting to define the experience zone
- Integrated sound system with directional speakers
This configuration keeps your 10×10 footprint open while creating a professional VR showcase that rivals larger booths.
Wall-mounted displays for spectator engagement transform your back wall into a viewing gallery. Install three 32-inch monitors in a horizontal array, each showing different angles of the VR experience. Add real-time statistics overlays showing:
- Current user’s interaction points
- Product features being explored
- Time remaining in demo
- Leaderboard for gamified experiences
Compact equipment storage solutions keep backup gear accessible but hidden. Use a lockable flight case that doubles as a demo podium, storing:
- Two backup headsets with charged batteries
- Hygiene supplies for 200+ demos
- Tablet for lead capture and queue management
- Tool kit for quick repairs
- Extension cords and power strips
VR Rental Packages Built for Trade Show Operations
Standard VR rentals fail at trade shows because they lack the support infrastructure exhibitors need. These packages include everything from pre-show testing to on-site technical support.
Turnkey Booth Packages (2-8 Headsets)
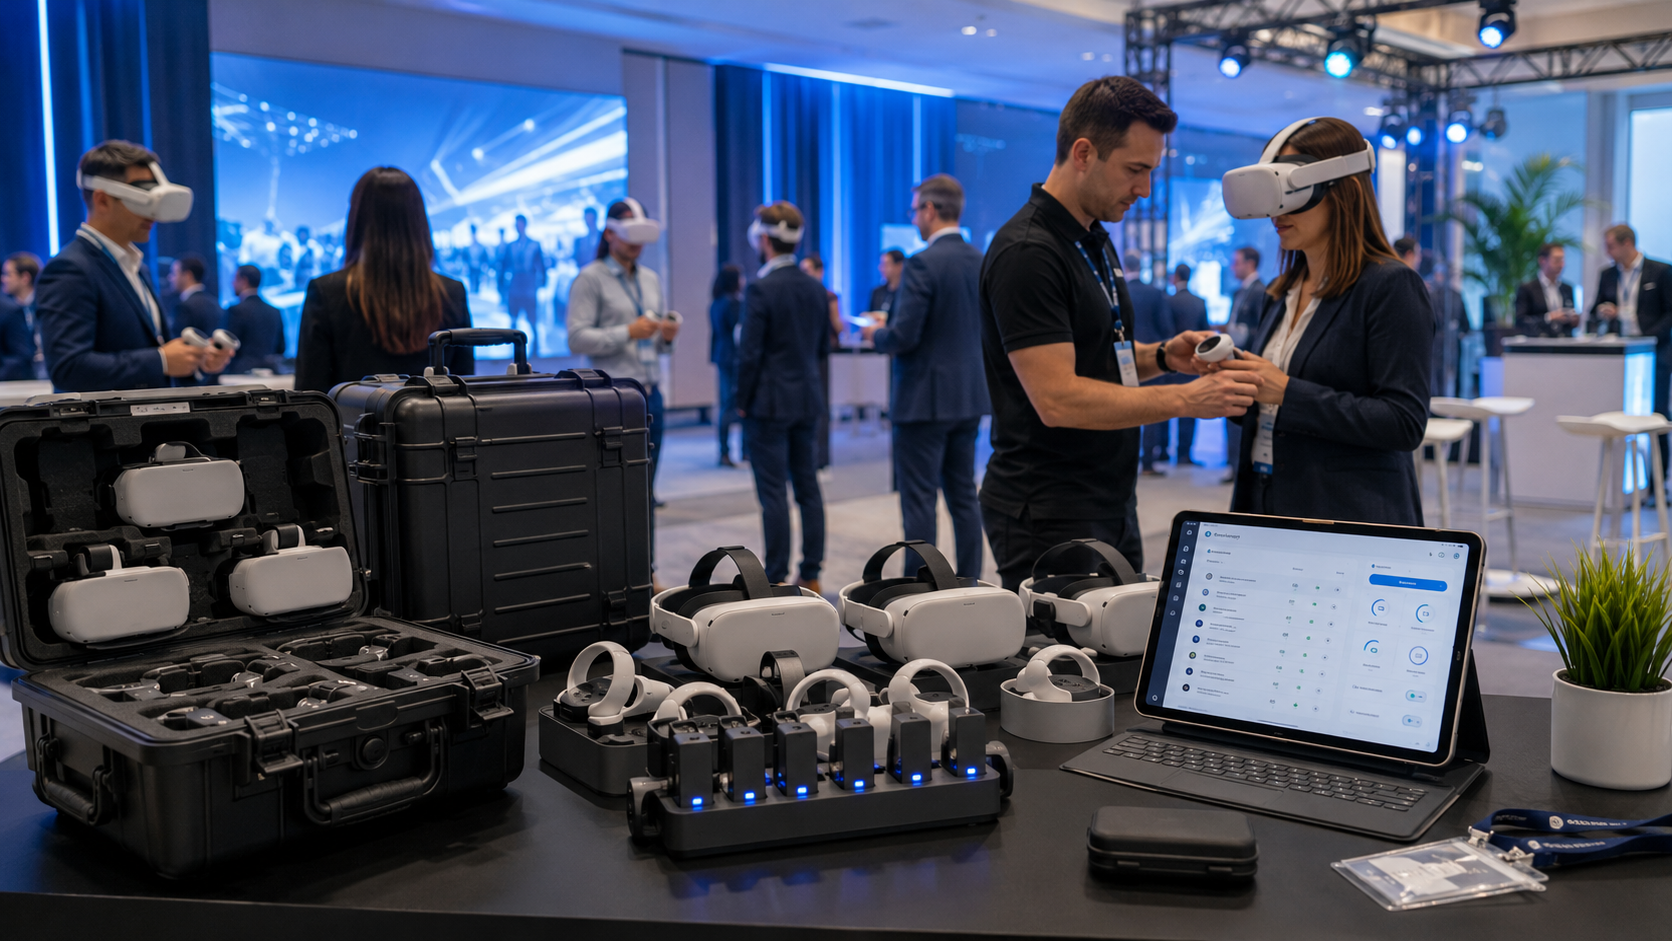
Meta Quest 3 bundles with charging stations provide the optimal balance of performance and portability. Each package includes:
- Meta Quest 3 headsets (512GB models for content flexibility)
- Elite straps with battery packs for all-day operation
- Multi-port charging stations with LED status indicators
- Prescription lens adapters (-8 to +6 diopter range)
- Wireless casting dongles for each display
- Carrying cases with custom foam inserts
The 4-headset package handles 40-50 demos per day, while the 8-headset configuration supports 100+ experiences with proper queue management.
Hygiene kit with 500+ disposable face covers ensures every visitor has a clean, comfortable experience. Each kit contains:
- Disposable VR face covers (individually wrapped)
- Antibacterial lens wipes (ammonia-free)
- UV-C sanitization wand for between-session cleaning
- Nitrile gloves for staff handling
- Hand sanitizer stations for visitor use
- Microfiber cleaning cloths for lenses
Backup headsets and hot-swap batteries included eliminate downtime from technical issues. Standard packages include:
- 50% backup ratio (2 backups for 4-headset package)
- Pre-configured with your content and settings
- Hot-swap battery packs providing 4-hour runtime each
- Rapid chargers that restore 80% capacity in 45 minutes
- Color-coded system for tracking battery status
Enterprise Activation Packages
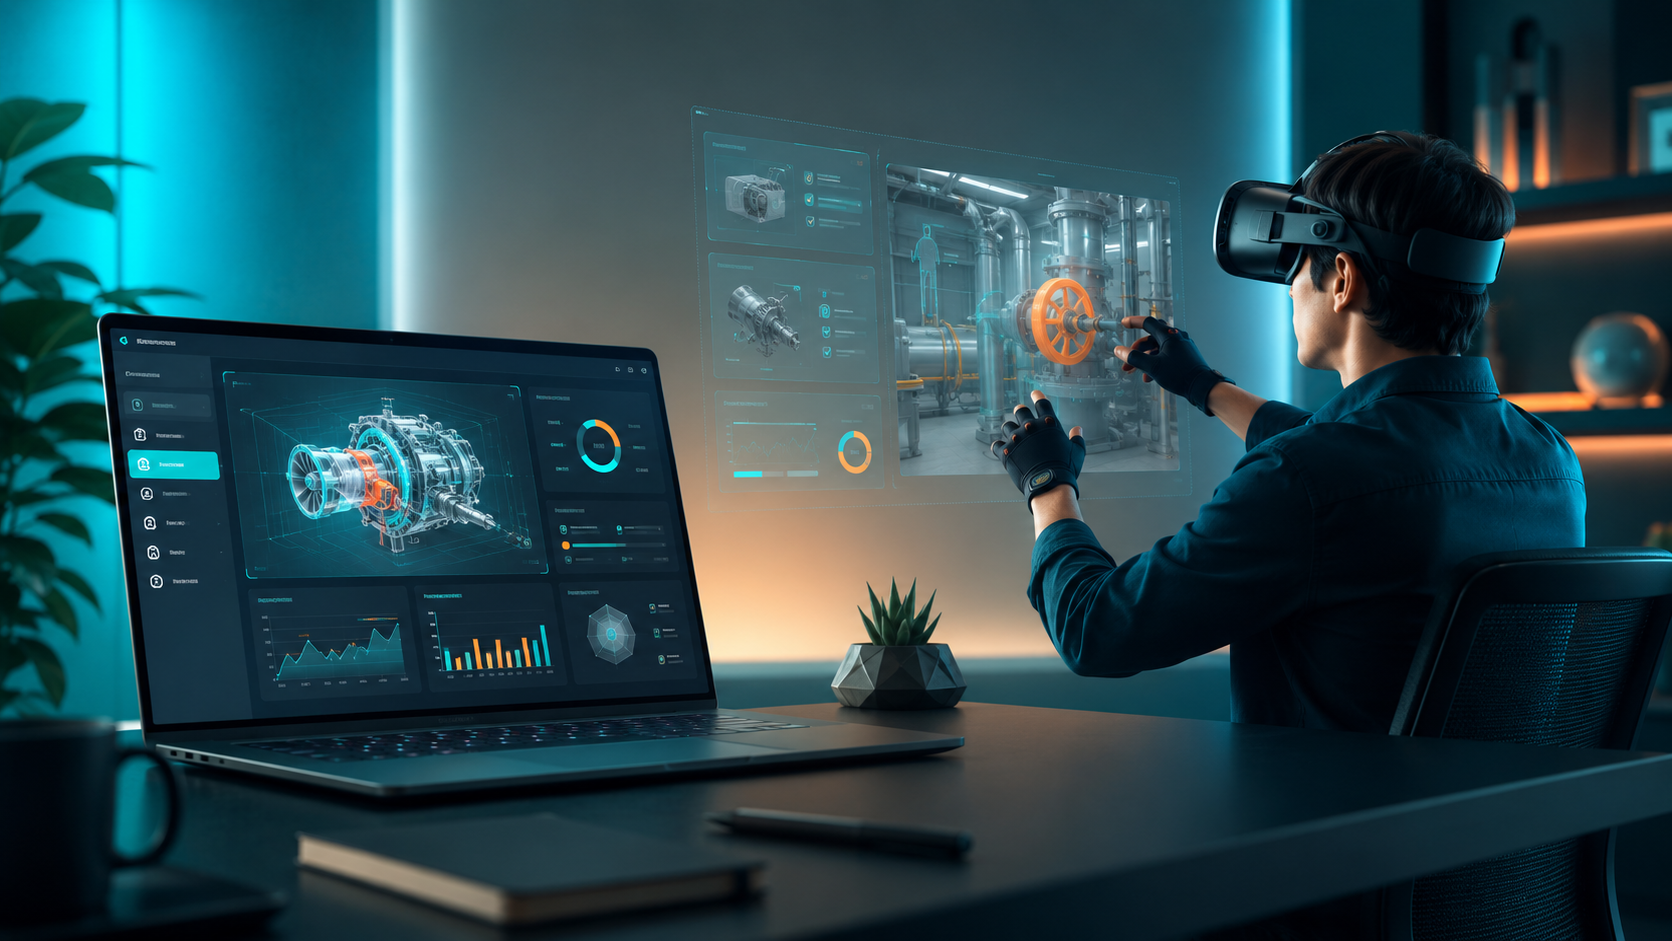
Pico 4 Enterprise with device management streamlines large-scale deployments through centralized control. The enterprise suite includes:
- Pico 4 Enterprise headsets with commercial licensing
- Cloud-based device management dashboard
- Remote content deployment and updates
- Real-time usage analytics and heat mapping
- Kiosk mode preventing unauthorized access
- Multi-user profiles with automatic switching
Custom branded content loading reinforces your company identity throughout the experience. Branding options include:
- Custom boot screens with your logo
- Branded virtual environments and waiting rooms
- Company colors integrated into UI elements
- Personalized avatar clothing and accessories
- Watermarked screenshots for social sharing
- Co-branded physical headset skins
Dedicated technician for setup and training ensures flawless execution. Your technician handles:
- Pre-show equipment inspection and testing
- Content installation and optimization
- Staff training on basic troubleshooting
- First-day operation support
- Emergency response within 30 minutes
- End-of-show equipment breakdown and packing
Multi-Day Show Support Options
Overnight charging and content refresh maintains peak performance throughout extended shows. Each evening, support staff:
- Collect all headsets for centralized charging
- Update content based on day’s feedback
- Replace worn hygiene supplies
- Test all equipment for next day’s operation
- Generate usage reports for your review
- Prepare backup equipment for high-traffic days
Daily equipment inspection and cleaning prevents mid-show failures. Morning inspection includes:
- Lens clarity verification and cleaning
- Strap adjustment and comfort testing
- Battery capacity confirmation
- Controller responsiveness check
- Tracking sensor calibration
- Display connection stability
On-call technical support throughout show hours provides immediate problem resolution. Support includes:
- Dedicated phone line with 5-minute response time
- Remote diagnostic capabilities
- On-site visit within 45 minutes if needed
- Replacement equipment delivery same day
- Real-time troubleshooting via video call
- Post-show technical report with recommendations
Booth Staff Training and Demo Scripts
Your booth team needs 30 minutes of training to run VR demos confidently. These protocols ensure smooth operations even when technical staff aren’t present.
Pre-Show Staff Preparation
Quick-start guides for each VR experience condense complex operations into simple steps. Each guide includes:
- Power-on sequence with LED indicator meanings
- Content selection using controller buttons
- Headset adjustment for different head sizes
- IPD (interpupillary distance) adjustment process
- Volume control and audio troubleshooting
- Safe shutdown and storage procedure
Laminate these guides and attach them to equipment cases for easy reference during busy periods.
Troubleshooting decision trees for common issues empower staff to resolve problems quickly:
- Black screen: Check power → Verify HDMI → Restart headset → Switch to backup
- Tracking lost: Clear play area → Check lighting → Recalibrate → Reset boundaries
- Controller drift: Replace batteries → Re-pair → Calibrate → Use backup controller
- Audio problems: Check volume → Verify Bluetooth → Test wired headphones → Restart
Demo timing for optimal throughput balances experience quality with visitor volume:
- 3-minute abbreviated demo for high traffic (20 visitors/hour)
- 5-minute standard demo for normal flow (12 visitors/hour)
- 8-minute premium experience for qualified leads (7 visitors/hour)
- 15-minute deep dive for serious prospects (4 visitors/hour)
Build flexibility into your schedule with “express” and “extended” experience options.
Visitor Onboarding Protocols
30-second safety briefing scripts set expectations while maintaining engagement:
“Welcome! This VR experience lets you [specific benefit]. You’ll be standing in this marked area—I’ll guide you if you drift. The experience runs [X] minutes. If you feel uncomfortable at any point, just remove the headset. Ready to see [product/solution] like never before?”
Hygiene procedures and equipment sanitization build visitor confidence:
- New disposable face cover applied in front of visitor
- Lens inspection and cleaning if needed
- Strap adjustment using nitrile gloves
- Controller sanitization with UV-C wand
- Post-session removal of face cover
- Equipment placed in “cleaning” bin for next cycle
Consent forms and photo release management protect both parties legally. Digital forms on tablets should capture:
- Acknowledgment of VR health warnings
- Permission for photography/video during experience
- Email opt-in for follow-up communications
- Agreement to safety guidelines
- Emergency contact information
- Medical conditions that may affect VR use
Lead Capture Integration with VR Experiences
VR booth activations generate 3x more qualified leads when integrated with your existing lead capture systems. Here’s how to connect the experience to your CRM.
Badge Scanning Before VR Sessions
QR code integration with experience launch creates seamless data flow. Configure your system to:
- Scan visitor badge QR code at registration kiosk
- Auto-populate lead form with attendee data
- Generate unique session ID for tracking
- Launch personalized VR content based on visitor profile
- Record session start time and headset ID
- Create CRM record with VR engagement tag
Automated follow-up triggers based on content viewed nurture leads intelligently:
- Viewed product demo → Send technical specifications within 2 hours
- Completed training simulation → Schedule follow-up call within 24 hours
- Explored configuration options → Send custom quote within 48 hours
- Watched testimonials → Share case studies within 3 days
- Incomplete experience → Send “continue your journey” email with web-based version
Heat mapping of interaction points within VR reveals buying intent:
Track where visitors spend time, what they touch, and which features generate questions. Export this data to identify:
- Most engaging product features
- Common sticking points in the experience
- Natural conversation starters for sales follow-up
- Content sections that need improvement
- Correlation between interaction depth and conversion
Post-Experience Lead Qualification
Scoring based on time in experience indicates engagement level:
- Under 2 minutes: Low interest (0-25 points)
- 2-5 minutes: Moderate interest (26-50 points)
- 5-10 minutes: High interest (51-75 points)
- Over 10 minutes: Hot lead (76-100 points)
Adjust scoring based on experience complexity and typical completion times.
Capturing specific product interests from VR interactions requires strategic data points:
- Products examined for over 30 seconds
- Features accessed through menu selection
- Configuration options tested
- Questions asked via in-VR help system
- Screenshots taken for later review
- Comparison tools activated
Automated email sequences with VR session highlights maintain momentum:
Day 0 (2 hours post-show): “Thanks for experiencing [product] in VR! Here’s what you explored…” Include screenshots and session statistics.
Day 1: “Based on your interest in [specific feature], you might also like…” Share related content and resources.
Day 3: “Questions about [product]? Our team noticed you spent time exploring [feature]…” Offer personalized consultation.
Day 7: “See how [similar company] uses [product]…” Provide relevant case study.
Day 14: “Special offer for [trade show] attendees…” Include time-limited incentive.
Setup Timeline and Logistics Checklist
VR booth setup takes 2-4 hours depending on complexity. This timeline ensures your activation is ready before the show floor opens.
Pre-Show Shipping and Testing
Equipment arrival 2 days before setup provides buffer for issues. Coordinate with shipping:
- Use GPS-tracked freight with signature required
- Include detailed packing lists in each case
- Label cases with booth number and contact info
- Specify “hold for pickup” to prevent floor delivery
- Arrange climate-controlled storage if needed
- Confirm customs clearance for international shows
Content testing on actual show Wi-Fi prevents connectivity surprises:
- Connect all devices to show network
- Test bandwidth with simultaneous headset use
- Verify cloud content streaming capability
- Check for firewall restrictions on ports
- Configure offline mode as backup
- Document network settings for quick reconnection
Backup equipment verification ensures contingency readiness:
- Power on all backup headsets
- Confirm content matches primary devices
- Test all charging cables and batteries
- Verify backup displays function properly
- Check spare controllers pair correctly
- Document serial numbers for tracking
Day-of Setup Sequence
Power and network verification first establishes your technical foundation:
Hour 1:
- Locate and test all power drops
- Run power cables with proper covers
- Connect and test surge protectors
- Verify network connectivity
- Set up charging stations
- Test all electrical loads simultaneously
Physical booth assembly around VR zones creates the experience environment:
Hour 2-3:
- Install flooring and safety mats
- Erect display mounting structures
- Position queue barriers
- Set up registration kiosks
- Place furniture and demo stations
- Install lighting and sound systems
Final run-through with booth staff ensures operational readiness:
Hour 4:
- Complete full demo with each headset
- Practice lead capture workflow
- Review troubleshooting procedures
- Test backup equipment switching
- Confirm content displays correctly
- Brief staff on emergency protocols
ROI Metrics and Success Measurement
VR booths deliver measurable results when you track the right metrics. These KPIs justify the investment and guide future show strategies.
Engagement Metrics That Matter
Average session duration vs. booth dwell time reveals VR’s impact on visitor engagement. Traditional booths average 2-3 minutes of visitor attention. VR experiences typically achieve:
- 5-7 minutes for basic product demos
- 8-12 minutes for interactive configurations
- 15-20 minutes for training simulations
Calculate engagement lift: (VR session time / traditional dwell time) × 100 = engagement increase percentage
Completion rates for product demos indicate content effectiveness:
- 90%+ completion: Optimal length and engagement
- 70-89% completion: Good content, consider shortening
- 50-69% completion: Review difficulty or pacing
- Under 50% completion: Significant content issues
Track drop-off points to identify problem areas in your experience flow.
Social sharing and user-generated content volume amplifies booth reach:
- Screenshots shared: Average 2.3 per visitor
- Social posts with event hashtag: 34% of participants
- LinkedIn mentions: 18% of B2B participants
- Video clips recorded: 12% of experiences
- Earned media impressions: 50-100x booth visitors
Multiply physical booth traffic through digital amplification.
Lead Quality Indicators
MQL conversion rate from VR participants demonstrates experience impact:
Traditional booth leads:
- MQL conversion: 15-20%
- SQL conversion: 5-8%
- Opportunity creation: 2-3%
VR experience leads:
- MQL conversion: 45-55%
- SQL conversion: 18-25%
- Opportunity creation: 8-12%
Follow-up meeting acceptance rates reflect engagement quality:
- VR participants: 68% accept follow-up meetings
- Traditional booth visitors: 23% accept meetings
- VR participants book longer meetings (45 vs. 30 minutes)
- Second meeting rate: 82% for VR vs. 54% traditional
Deal velocity for VR-engaged prospects accelerates sales cycles:
- Average sales cycle reduction: 23%
- Proposal acceptance rate: 34% higher
- Average deal size: 18% larger
- Champion identification: 2.5x faster
- Technical validation: 40% fewer meetings required
Frequently Asked Questions
How much space do I need for a VR booth activation?
Minimum 6×6 feet per VR station for standing experiences, 8×8 feet for room-scale movement. Add 4 feet around each station for safety and spectator viewing. A single-station setup fits comfortably in a 10×10 booth, while dual stations need at least 10×20.
What’s the typical rental cost for a 3-day trade show?
Basic packages (2 headsets, displays, support) start at $3,500-$5,000. Standard packages (4 headsets, technician, custom content) range $7,500-$12,000. Premium packages (8+ headsets, full management, multiple experiences) cost $15,000-$25,000. Prices vary by location, show size, and support level.
Can we use our own VR content with rental equipment?
Yes, most rental providers pre-load custom content at no extra charge. Provide your VR files (.apk for Quest, .exe for PC-based) at least 5 days before the show. Content must be tested and optimized for the specific hardware. Some providers offer content development services if needed.
How many attendees can experience VR per hour?
Single station: 12-15 visitors/hour with 4-minute experiences. Dual station: 25-30 visitors/hour. Quad station: 50-60 visitors/hour. Factor in 1-minute transitions between users. High-traffic shows may require shorter experiences or additional stations to minimize wait times.
What happens if equipment fails during the show?
Professional rental packages include 25-50% backup equipment on-site. Standard protocol: Switch to backup within 2 minutes, troubleshoot original during downtime, request replacement if unrepairable. Premium packages include on-site technicians who handle all technical issues immediately.
Do you provide on-site technical support?
Basic packages include setup/breakdown assistance and phone support. Standard packages add 2-4 hours of on-site support daily. Premium packages provide dedicated technicians throughout show hours. Most providers offer additional support hours at $150-$250/hour.
How far in advance should we book VR booth rentals?
Book 6-8 weeks ahead for major trade shows (CES, NAB, etc.). 4-6 weeks for regional shows. 2-3 weeks minimum for local events. Earlier booking ensures equipment availability, allows custom content development, and often includes early-bird pricing discounts of 10-15%.
Conclusion
VR trade show booth rentals transform standard exhibits into memorable brand experiences that generate qualified leads and accelerate sales cycles. Success requires more than just headsets—it demands thoughtful configuration design, comprehensive support packages, trained staff, and integrated lead capture systems.
The right VR activation can deliver 3x more qualified leads, reduce sales cycles by 23%, and create social amplification that extends your booth’s reach far beyond the show floor. Whether you’re working with a compact 10×10 inline booth or commanding a 20×20 island presence, VR experiences scale to meet your objectives while providing measurable ROI.
Start planning your VR trade show activation 6-8 weeks before your event. This timeline allows for proper content development, staff training, and equipment reservation while avoiding rush charges. Focus first on your booth configuration and expected traffic flow, then select rental packages that include adequate backup equipment and support levels matching your team’s technical expertise.
Ready to elevate your next trade show with VR? Contact rental providers for detailed quotes based on your specific booth dimensions, show duration, and support requirements. Request case studies from similar industries and ask about content development services if you don’t have existing VR experiences. Most importantly, book early to secure premium equipment and take advantage of package deals that include everything from setup to lead capture integration.
Your competition is still handing out brochures. You’re about to transport prospects directly into your value proposition. That’s the power of VR trade show booth rentals done right.