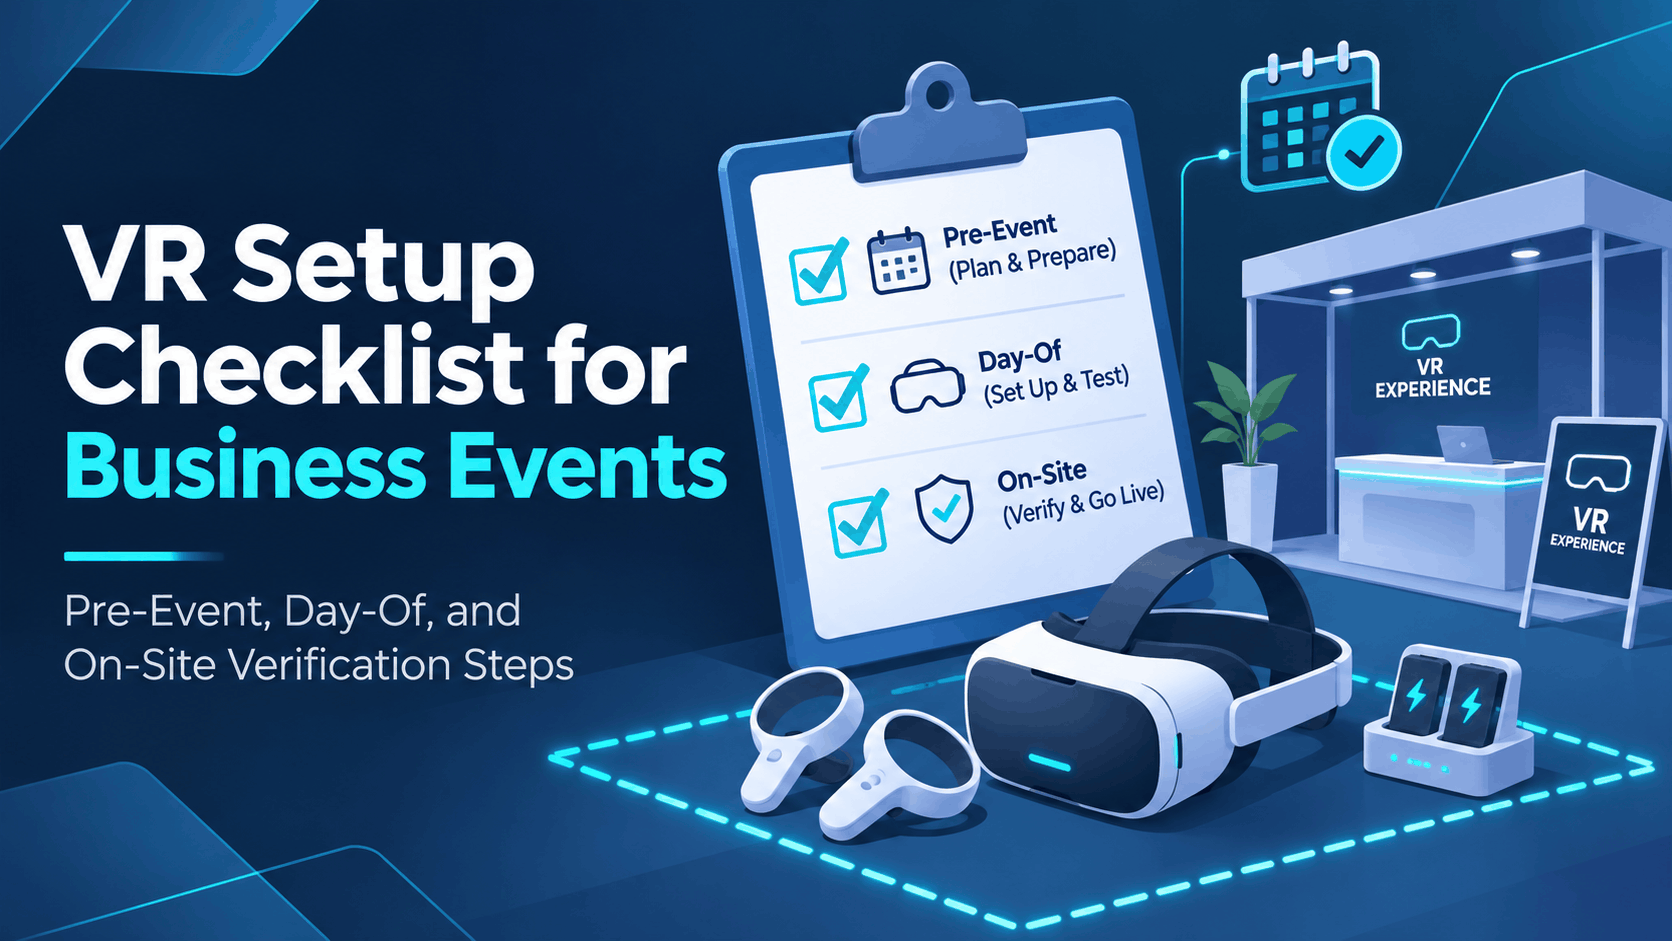
Most VR setup failures at trade shows, product launches, and training programs are not hardware failures they are preparation failures. A headset that was never paired to the right content, a battery that was not charged before doors opened, or a tracking boundary that was never configured for the actual floor space are all checklist failures, not technology failures. This guide gives event operators, marketing teams, and training managers a phase-by-phase verification framework built specifically for rental-based and event-ready VR deployments.
The Three Failure Windows in a VR Event Deployment
VR event success is determined across three distinct operational windows. Failures in the early stages have a cascading effect on the final outcome.
- Pre-event failures: These occur weeks before anyone is on-site. They include shipping incompatible hardware, loading the wrong content, or having no documented fallback plan for common issues.
- Day-of failures: These happen during the high-pressure setup window before the event begins. Common examples are insufficient time for charging, skipping the on-site boundary setup, and failing to brief staff on crucial restart procedures.
- Live-event failures: These are the public-facing problems that occur during the activation. They range from headsets overheating during peak traffic, having no charged spare headsets ready, or not having a designated on-site technical contact to solve problems quickly.
How Rental Hardware Changes the Checklist
Using a rental fleet of VR headsets simplifies procurement but adds critical verification steps. Unlike owned hardware, rental units have a history from previous deployments that must be accounted for.
- Rental fleets often arrive pre-configured, but you must verify that their settings and software are correct for your specific content and venue.
- Rental units may have different firmware versions or settings from prior jobs that need to be reset or updated.
- It is crucial to confirm with your rental provider which checklist steps they handle (like content pre-loading) versus which are your responsibility on-site (like Guardian boundary setup).
Phase 1: Pre-Event Checklist (1–2 Weeks Before the Event)
The pre-event window is where most deployment problems are either solved or created. This phase covers hardware confirmation, content verification, venue assessment, and staffing preparation the decisions and verifications that cannot be made on the morning of the event.
Hardware Confirmation Checklist
- Confirm Headset & Configuration: Finalize the headset model, quantity, and configuration with your rental provider. Decide between standalone headsets (like the Meta Quest 3) for ease of use or PC-tethered systems (like a Varjo headset) for experiences that demand high-fidelity graphics.
- Calculate Station Count: Verify that the number of headsets matches your planned attendee throughput. A common formula is: (Total Event Hours × 60) / (Average Session Length in Minutes + Reset Time in Minutes) × Number of Headsets = Total Attendee Capacity.
- Consider Advanced Features: Confirm if your rental fleet includes Apple Vision Pro units if your use case specifically requires its advanced passthrough AR or spatial computing capabilities.
- Request a Hardware Manifest: Ask the rental provider for a detailed manifest listing the firmware versions, controller types, and any pre-loaded applications on each headset.
- Secure Backup Headsets: Identify and document your backup units. For high-traffic events, a minimum of one spare headset for every four active stations is a safe benchmark.
Content and Application Verification Checklist
- Test on the Exact Model: Confirm that your VR application has been thoroughly tested on the exact headset model being rented, not just a similar one.
- Verify File Format Compatibility: Different content types have different deployment needs. Unreal Engine builds, WebXR apps, and sideloaded Android Package Kits (APKs) must be handled correctly.
- End-to-End Session Test: Run the full session flow on a rental unit before the event. This includes the start screen, all user interaction points, and the exit sequence.
- Confirm Local Preloading: Ensure your content is preloaded locally on each headset. Relying on streaming is risky unless your venue has guaranteed dedicated bandwidth.
- Document the Launch Process: Write down the exact steps required to launch the experience from a cold boot. This simple guide will be invaluable for on-site staff.
Venue and Space Assessment Checklist
- Measure Your Floor Space: Accurately measure the physical area for your VR activation. Room-scale experiences on headsets like the Meta Quest 3 require a minimum cleared area, typically recommended as 6.5 x 6.5 feet (2 x 2 meters) per station.
- Map Power Outlets: Identify all power outlet locations and confirm you have enough circuits to simultaneously charge all headsets and power any PC-tethered rigs.
- Assess Ambient Lighting: Extremely bright trade show floors can sometimes interfere with the inside-out tracking used by standalone headsets. Note any intense direct lighting.
- Check for Reflective Surfaces: Glass walls, mirrors, or other highly reflective panels near the activation area can disrupt optical tracking systems.
- Confirm Wi-Fi Credentials: If your experience requires any online connectivity for leaderboards, analytics, or fleet management, get the network name and password from the venue organizer in advance.
Staffing and Briefing Checklist
- Assign Dedicated VR Operators: Do not rely on general event staff to manage headsets. Assign a designated, trained VR operator for every two to three active stations.
- Prepare a One-Page Briefing Document: Create a simple guide for staff covering: how to launch the experience, how to properly fit a headset on a new user, how to perform a soft reset, and what to do if a headset freezes.
- Confirm Technical Support: Clarify whether your rental provider includes on-site technical support or if you need to arrange this separately.
- Brief on Hygiene Protocols: Train staff on your hygiene process, whether it’s replacing disposable face covers or sanitizing the gasket between each user. This is non-negotiable for public activations.
- Establish an Escalation Point: Designate a single person as the point of contact for all technical issues. Ensure all staff members have their name and phone number.
Phase 2: Day-Of Setup Checklist (On-Site Before Doors Open)
Day-of setup is the highest-pressure window. You have a fixed amount of time before attendees arrive, and every item on this checklist that gets skipped becomes a visible failure during the activation. Build at least 90 minutes of setup time into your event schedule for a four-to-six station deployment—more for larger configurations or PC-tethered rigs.
Physical Setup and Power Checklist
- Inventory All Hardware: Unbox and check all headsets, controllers, and cables against the hardware manifest you confirmed pre-event.
- Charge Headsets Immediately: Begin charging all headsets as soon as you arrive. Standalone headsets like the Meta Quest 3 can take around 90 minutes to reach a full charge from a depleted state.
- Organize Charging Stations: Set up charging areas in a location that is accessible to staff but out of sight and reach of attendees.
- Secure All Cables: For PC-tethered setups, use cable management clips or gaffer’s tape to route and secure all cables, preventing trip hazards.
- Position Each Station: Arrange each VR station with clear sightlines for the supervising operator and enough clearance for a user to move their arms without hitting furniture or other people.
Headset Configuration and Boundary Setup Checklist
- Power On and Verify: Turn on each headset and confirm it boots to the correct home environment and has the expected firmware version.
- Set Guardian Boundaries: You must set or verify the Guardian boundary for each standalone headset in the actual physical space it will be used. Boundaries set in a different room will not transfer correctly.
- Use Stationary Mode for Seated Experiences: If your VR experience is stationary, set the headset to stationary mode instead of room-scale to prevent unnecessary boundary warnings.
- Confirm Controller Pairing: Before the first user, confirm that each headset is paired to its correct left and right controllers and that tracking is functional.
- Launch and Test Content: Launch the VR experience on every single headset and walk through the full session to ensure it loads and runs correctly in the live venue environment.
Network and Fleet Management Checklist
- Check Fleet Management Status: If using a platform like ArborXR or ManageXR, confirm that all headsets are enrolled and showing as “online” in the dashboard before doors open.
- Test Remote Functions: While on-site, test critical remote functions like pushing a content update or restarting a headset from the management console.
- Run a Network Speed Test: If your experience relies on an internet connection, run a speed test on the venue’s Wi-Fi to confirm that latency and bandwidth are within the acceptable range for your application.
- Prepare a Backup Hotspot: Have a dedicated mobile hotspot ready as a backup network in case the venue’s Wi-Fi becomes congested during peak event hours.
- Verify Analytics Logging: If you are using any analytics or session tracking tools, confirm they are logging data correctly before the first attendee participates.
Final Pre-Open Verification Checklist
- Run a Full Test Session: Have a staff member act as a test user and run through one complete end-to-end session on each station.
- Verify the Reset Workflow: Confirm that the headset correctly returns to the main launch screen after a session ends, whether automatically or via a manual staff reset.
- Check Battery Levels: After your test sessions, check the battery levels on all headsets and top up any that have dropped below 80 percent.
- Ready the Spares: Confirm that your backup headsets are fully charged, configured with the correct content and settings, and ready to be swapped in instantly.
- Final Staff Briefing: Gather all on-site staff for one last review of the session flow, reset procedures, and the technical escalation contact before the event officially begins.
Phase 3: Live-Event Management Checklist (During the Activation)
Once the event is live, the checklist shifts from setup to operational monitoring. The most common live-event failures—overheating, battery depletion, tracking drift, and content crashes—are all manageable if staff know what to watch for and have a documented response for each scenario.
Battery and Thermal Management
- Monitor Battery Levels: Check the battery status on all active headsets every 30 to 45 minutes. Standalone headsets like the Meta Quest 3 typically last 2 to 3 hours under continuous use and will need a swap or charge break.
- Implement a Rotation Schedule: For high-traffic events, actively cycle headsets between use and the charging station to maintain a ready pool of fully charged units.
- Watch for Overheating: Be vigilant for thermal throttling warnings, especially in warm trade show halls. If a headset feels hot or its performance degrades, take it offline to cool down.
- Utilize Power Banks: Keep spare external batteries (power banks) or battery head-straps available for headsets that support them, which can significantly extend session times.
Tracking and Content Issue Response
- Know the Soft Reset: If a headset loses tracking or displays persistent boundary warnings, the fastest fix is a soft reset. Have staff remove the headset, hold the power button to restart it, and relaunch the experience.
- Document Crashes: If content freezes or crashes, staff should note the specific point in the session where the failure occurred. This data is critical for post-event debugging with your developer.
- Check PC Tethers: For PC-powered setups, periodically check the tethering cable connection at both the headset and PC. Cable stress is a primary cause of mid-session disconnects.
- Swap, Don’t Troubleshoot: If a headset fails and cannot be resolved within 60 seconds, immediately swap in a pre-configured spare unit. Do not attempt to troubleshoot complex issues in front of a line of attendees.
Attendee Flow and Session Management
- Staff Each Station: Assign one staff member per station to manage the queue, fit the headset for each new user, and initiate the session. Do not leave headsets unattended for self-service.
- Enforce Session Length: Set a maximum session length and have staff enforce it consistently. Unmanaged sessions create long queues and increase headset wear and battery drain.
- Sanitize Between Users: Staff must sanitize the headset’s face gasket between every single user with approved wipes or by swapping disposable covers. Keep hygiene supplies well-stocked at each station.
- Log All Incidents: Maintain a simple log of any technical incidents, noting the time, headset number, and a brief description of the issue. This is essential for your post-event review.
VR Setup Checklist by Event Type
The core checklist phases apply to all VR deployments, but specific priorities shift depending on the goal of your activation.
Trade Show Booth VR Activation
- Prioritize Throughput: Calculate your station count based on booth traffic projections, not just the available space.
- Confirm Power Capacity: VR rigs with PC tethering draw significant power. Confirm your booth’s power drop capacity with the venue organizer well in advance.
- Plan for Short Sessions: To keep queues moving during peak hours, aim for a 3- to 5-minute maximum session length.
- Integrate with Booth Design: Coordinate with your booth designer on headset storage, secure cable routing, and the physical placement of each VR station relative to booth traffic flow.
Product Launch or Sales Demo VR Experience
- Content Is King: Content verification is the highest priority. The 3D product model or interactive demo must be flawless on the exact hardware used at the event.
- Prepare for High-Stakes Demos: For executive or investor presentations, have a fully configured backup headset ready to be swapped in under 60 seconds.
- Check Venue Lighting: Product visualizations can look dramatically different under various lighting conditions. Test the experience in the specific lighting of the demo venue.
- Separate Presenter and Operator Roles: The person narrating the experience or delivering the sales pitch should not also be the technical VR operator. Clearly define these two roles.
VR Training Program Deployment
- Verify Data Logging: For compliance or safety training, confirm that session completion data is being logged correctly before the first trainee begins.
- Match Room Size to Content: Training often occurs in controlled rooms. Verify that the room’s dimensions can support the guardian boundary size required by the training software.
- Plan for Longer Sessions: Training modules often run 10 to 20 minutes, which is much longer than a trade show demo. This directly impacts your battery rotation schedule.
- Confirm Content Version: Ensure the training content version deployed is the one approved by your Learning & Development or compliance team. Do not deploy untested updates on training day.
Quick-Reference VR Setup Checklist Summary
Use this condensed checklist as a day-of reference. Each item maps to the detailed guidance in the sections above. Print or save this list and work through it in order before every VR event.
Pre-Event (1–2 Weeks Out)
- Hardware manifest confirmed with rental provider
- Content tested on rental headset model
- Venue space measured and power outlets mapped
- Staff briefing document prepared
- Backup headsets and spare parts confirmed
Day-Of Setup (Before Doors Open)
- All headsets inventoried and charging
- Guardian boundaries set in actual venue space
- Full session test completed on each station
- Fleet management platform showing all headsets online
- Staff final briefing completed
Live Event (During Activation)
- Battery levels monitored every 30–45 minutes
- Rotation schedule active for high-traffic periods
- Incident log maintained with timestamps
- Hygiene supplies stocked at each station
- Escalation contact reachable by all staff
Frequently Asked Questions (FAQs)
How long does it take to set up a VR station for a trade show or event?
For a standalone headset like a Meta Quest 3, allow 15-20 minutes per station for unboxing, charging, on-site boundary setup, and content testing. For a PC-tethered VR station, budget 30-45 minutes per station due to the additional complexity of the PC, cables, and driver checks. A typical 4-station setup should have a 90-minute buffer built into the schedule.
What is the minimum space required for a VR setup at a live event?
For room-scale experiences where users walk around, Meta recommends a minimum clear, unobstructed space of 6.5 feet by 6.5 feet (2 meters by 2 meters) per station. For stationary or seated experiences, a 3-foot by 3-foot (1 meter by 1 meter) area is sufficient. Always mark these spaces clearly on the floor.
How many VR headsets do I need for a trade show booth?
This depends on your goals and expected traffic. Use this formula: (Event Hours × 60) / (Experience Length + Cleaning Time) × Number of Headsets = Max Throughput. A single headset with a 4-minute experience and 1 minute of cleaning can serve about 12 people per hour. If you expect high traffic, you must increase the number of headsets or shorten the experience.
Can I use rental VR headsets with my own custom content?
Yes. This is a standard practice for business events. You will need to coordinate with the rental provider to have your application “sideloaded” or deployed to the headsets through a mobile device management (MDM) platform before they ship. Ensure your content is tested on their hardware first.
What happens if a VR headset crashes during a live event?
Your on-site staff should be trained for this. The first step is a “soft reset” (holding the power button to restart the device), which solves most minor glitches. If that fails, the protocol is to immediately swap the malfunctioning unit with a fully charged, pre-configured spare headset and troubleshoot the original unit offline, away from the attendee area.
Do I need Wi-Fi for a VR event setup?
It depends on your content. If your VR experience is fully self-contained and pre-loaded on the headset, you do not need Wi-Fi to run it. However, you WILL need Wi-Fi if you are using a cloud-based fleet management platform, if your experience needs to pull data from the internet, or if you are streaming content from a PC wirelessly. It’s always best to have a backup hotspot.
How do I manage battery life for VR headsets during a full-day event?
Continuous use drains a standalone VR headset battery in about 2-3 hours. The only effective strategy for a full-day event is rotation. For every 2-3 active headsets, have one additional headset on the charger. By cycling headsets from the charger to active use throughout the day, you ensure no station ever goes down due to a dead battery.
What is the difference between standalone and PC-tethered VR for events?
Standalone VR (e.g., Meta Quest 3) is self-contained. All processing is done on the headset itself, making setup fast, easy, and wireless. This is the default for most event activations.
PC-Tethered VR (e.g., Varjo, or a Quest 3 using a Link cable) connects the headset to a powerful computer. The PC does all the heavy graphical work, allowing for much more complex and photorealistic visuals. This is used when visual fidelity is the absolute top priority, but it comes with higher cost and setup complexity.